Monday, 27 June 2011

Lace Dress...Continued.

This is my lace dress made up into my toile material. I chose this material because it was the closest weight of the fabric I want to use. As you can see from this image the dress isn't fitting the mannequin very well at all. I was also having problems as the material was sticking to the mannequin so I couldn't seen how it would naturally fall against skin.


I forgot to decide where to put the fastening on my lace dress. In the end I decided I wanted it at the back. The slit in the back will be where I either put a zip or poppers. A zip might be too heavy.
On this picture you can see I have altered the neckline. I actually prefer the neckline higher, so on my final garment I will leave the neckline.

To alter the dress I added more fabric into the darts and I took a good inch off the side seams.

This is the dress after the alterations I made. It fits the mannequin alot better now. When I make my final garment I will make sure I stick to my pattern. I think that I made my seams too small. I also shouldnt of altered the neckline on the mannequin as it affected the shoulder seams.


I also want to take 15cm off the hem of the dress to make it a little bit shorter.
This is an image of the hemline taken up 15cm. I won't be able to alter the length until I know how tall my model is.

I have attatched the 3/4 length sleeves on this photo. I am happy with the length and fit of the garment. On my final garment I will need to french seam as this is neater for lace. I may also have to put a lining on my final garment.

Toile Diary - Outfit 4 - Lace Dress

BACK. The patterns for my lace dress were very simple. I wanted a close fitting, knee length lace dress. Demure and pretty. 
FRONT. The fabric of the dress was going to be the focal point of the dress. I thought lace was a good choice of fabric as it fits in with me marie antoinette theme.


Because I wanted the sleeve to only reach the elbow i added 10cm from the elbow line and took the rest off the pattern as you can see in this image.


This is an image of the final sleeve pattern for my dress.


FINAL TOILE.

Dress Continued... The Snood!!

The snood was very simple to make. I chose a fabric that was light, sheer and draped well. For my final garment I don't want a pattern. I doubled up my piece of fabric and sewed down the side to create seams. I then joined the piece of fabric together so that it was in the shape of a circle.

This is an image of the inside seam. I decided to use french seams because it's a much neater finish when the fabric is sheer.

This is an image of the outside of the snood where it is joined together.

Before I made my snood I practiced draping the fabric over my head and also this polysterene mannequin head. This image is of the snood after it was finished on the mannequin head. In my opinion it drapes well.

This is a photo of the snood on my dress. This is the effect I wanted. For the catwalk show I want my model to where the snood pulled up because I plan to sew embellishments on it to really make the snood stand out.

Dress Continued... The Bodice!!

This is the back pattern for my bodice of the dress. I didn't make any alterations as I only wanted a close fitting bodice. The shape is very simple.

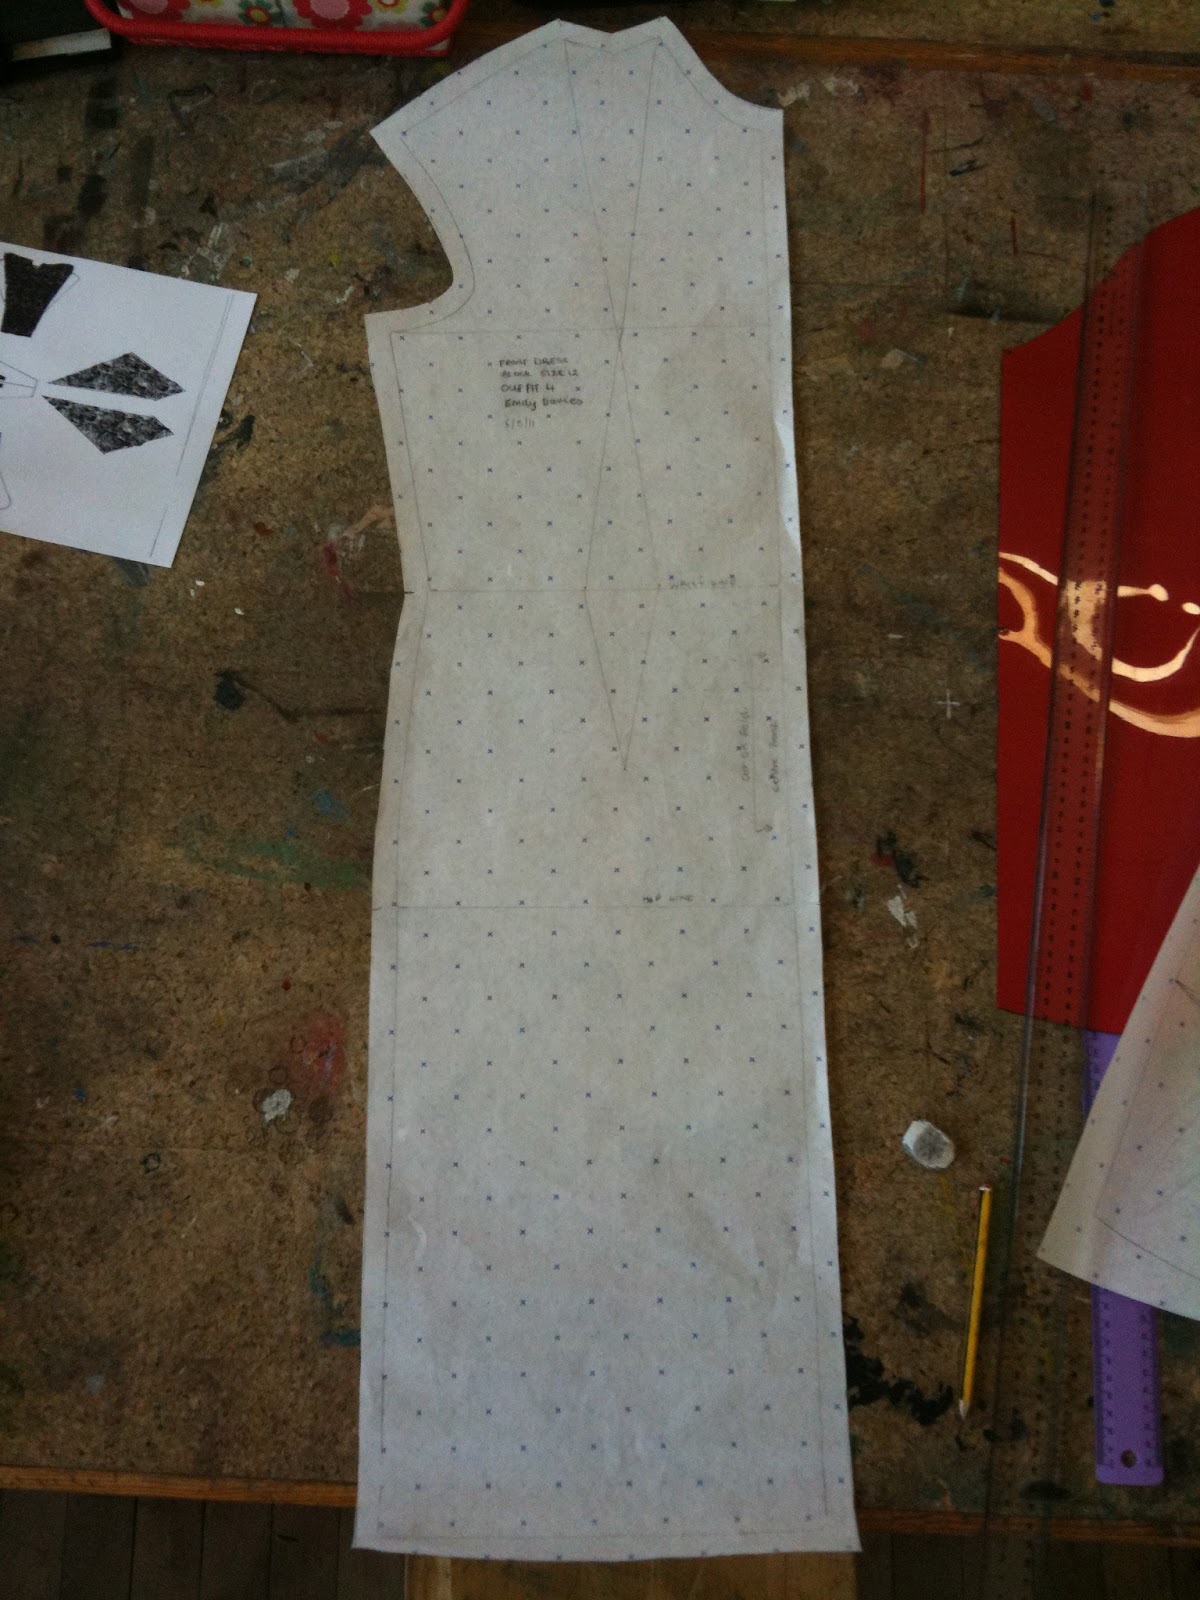
This is the front of the bodice pattern. I wanted to keep it simple as the snood will cover the neckline. I want my final fabric to be the focal point of the dress so the pattern is quite simple.

This is the bodice after I have put the darts in. As you can see from the image it isn't fitting the body right.

This is an image of the inside of the bodice. I decided to make the darts more like seams so that it fitted the mannequin perfectly. I have also take a good inch off the side seams. I want the dress to be nipped in at the waist.

The seams work much better than the darts did and I actually think the seams create a nice tailored effect.

I have left the centre back open as I want to put an invisible zip reaching just past the hips so my model can get into the dress.


As you can see from this image the armhole is slightly too big and the seam doesn't sit on the shoulder right.

 I added more into the seams on the shoulders so that it would fit properly. This sorted out the two issues mentioned previously.

This is a close up of the bodice attached to the skirt at the waistline. I think this dress flatters the female body well. On the inside I have overlocked and pressed all the seams. I plan to make a lining in the dress for a neat, professional finish.

Dress Continued...

This is the front view of the skirt made up in calico. Because the pattern was curved it has created a panneled, pleated effect.
This is the back view of the skirt. The skirt doesn't need a waistband because it is being attached to the bodice.


This is the skirt attached at the waistline. The skirt comes down to around the knee point. (I will add images of how i made the bodice.)


This is the inside of the skirt where I have joined two panels together. As you can see I have snipped into the seam so it curves easily. I have then pressed the seam out so it lies flat. I have then topstitched to make sure it is secure.

This is an image of the topstitching from the outside. I have tried to keep the stitching neat. The topstitching has worked well as the skirt panels hold their shape a little better.

This is the skirt after i have pressed it and starched it. I was trying to create a stronger shape but the starch doesn't hold very well because of the weight of the fabric. If I am going to carry this idea forward I need something stronger.


Toile Diary - Dress (:

Skirt Panel

<<


Before I cut my patterns out in calico I wanted to see what they would look like on the mannequin. I cut around 10 panels out in my pattern and pinned them to the mannequin. 
This is the back view . I wanted to base my skirt on a crinolin skirt from the 18th century to fit in with my Marie Antoinette theme. I had neither the time or the skills to create an actual crinoline skirt but I settled for a full, panneled skirt instead. I was happy with the shape.